Learn to add new categories and update existing ones
1. Go to Catalog > Categories > Add Category.

3. Use the "Is active" toggle button to determine whether your category will be visible in your store or not.
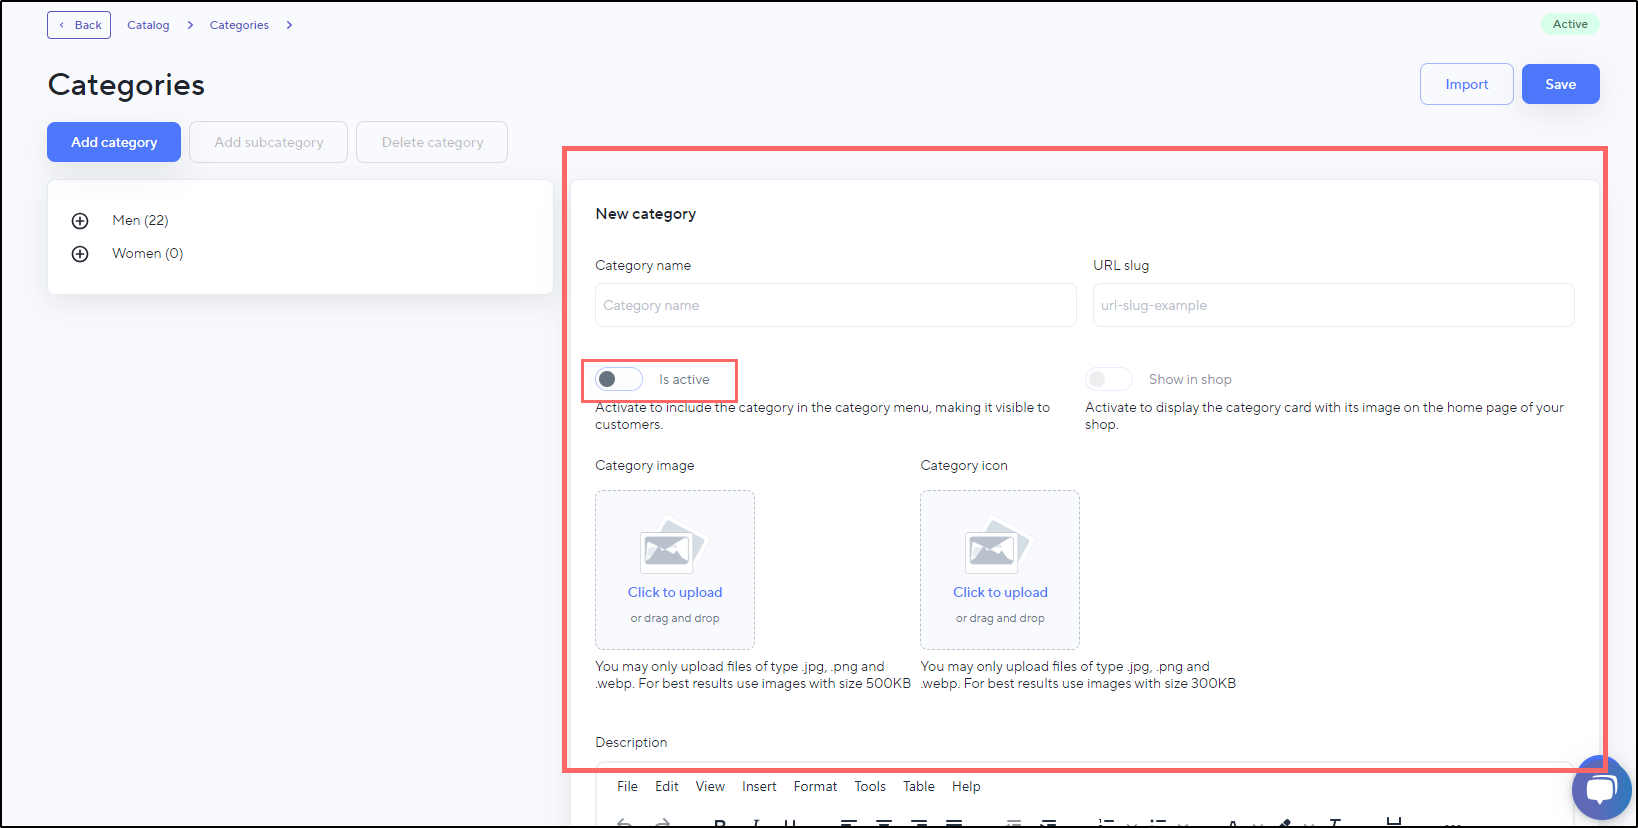
4. It's recommended to have an Image for your category. Name your image with an SEO-friendly name and add it (drag & drop) to the respective box.
5. It's recommended to have an Icon for your category. Name your icon with an SEO-oriented name and add it (drag & drop) to the respective box.
7. Enter FAQ (Frequently Asked Questions) for your category (field is optional).
8. From the Google taxonomy list, select the category that best corresponds to the one you're creating.

9. Press Save in the upper right corner of the screen to confirm the creation of the new category.
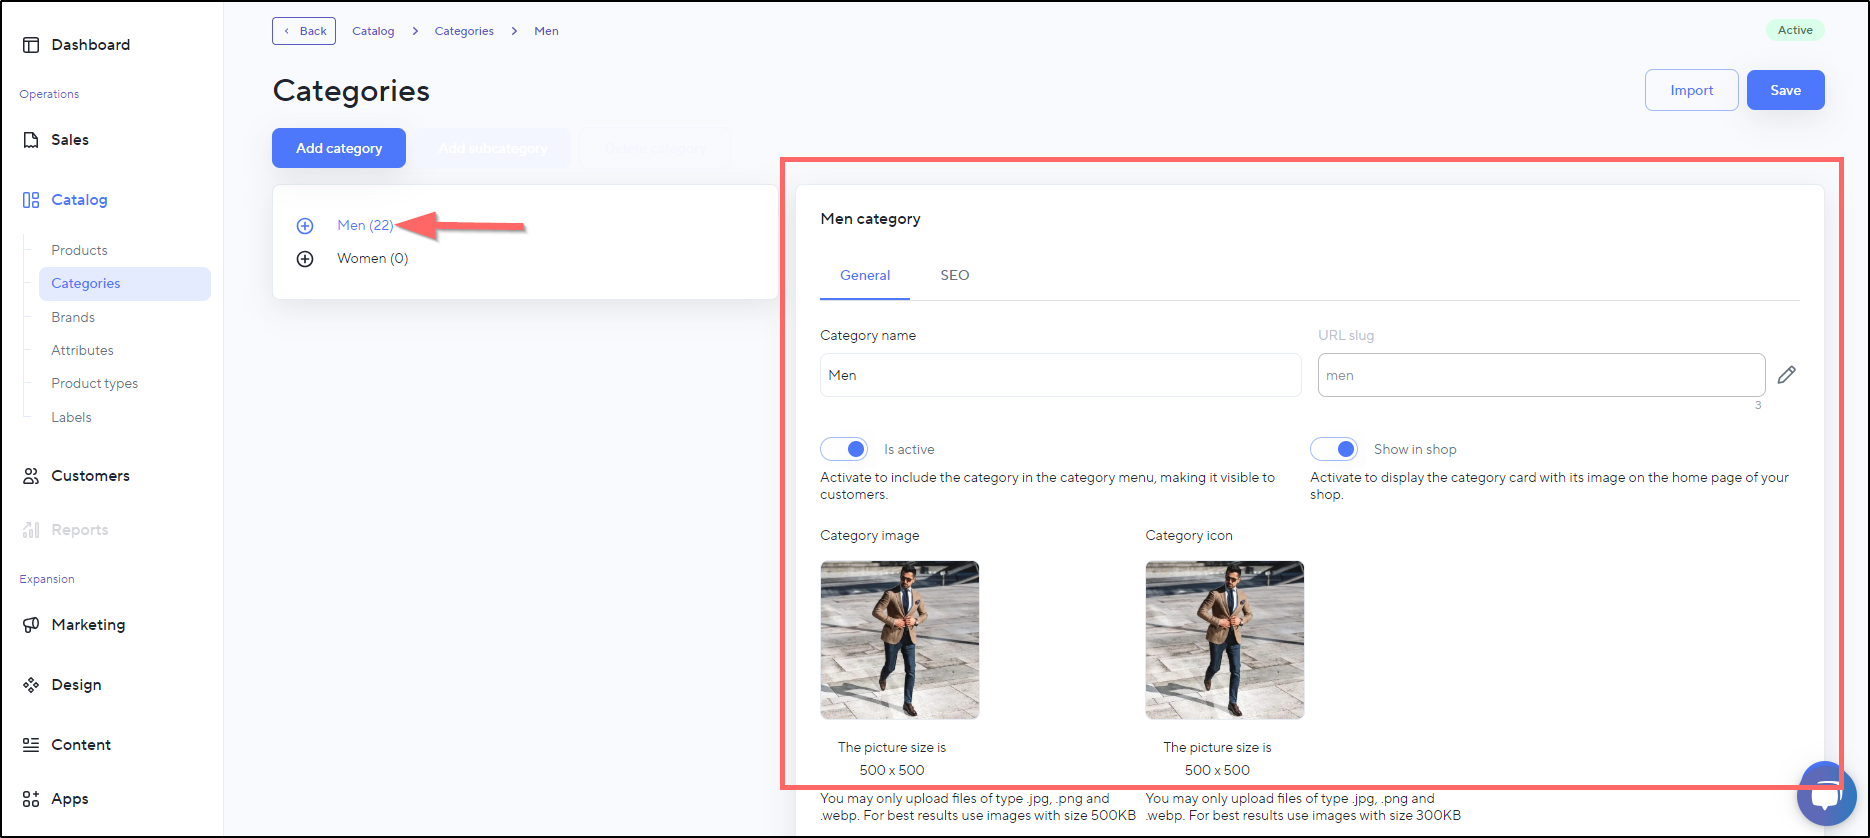
Updating an Existing Category
Catalog > Categories
You can always change one or more properties of a given category. For example, you can add a question from the Frequently Asked Questions section or expand your description.
Updating a category means changing one or more of its settings. To edit a category:
- Select the category you want to update.
-
Enter the values you want to change: for example: the category description or adding SEO information.

-
To confirm the changes, hit the Save button.
Configure SEO for Category
- Select the category you want to update.
-
Select the next section: SEO.
- In the newly displayed panel, enter an SEO-friendly Title for the category.

- Just below it, enter an SEO-friendly Description for the category.
Example: The highest quality women's dresses in Bulgaria and the European Union.

5. To confirm the changes, press the Save button.
Take a look at our video below—it goes hand-in-hand with the step-by-step instructions in this article: