With the ERP system integration, every online business gets enhanced functionality in inventory management, product management, and detailed information about each order.
Important* - The initial synchronization between your online store and ERP (Enterprise Resource Planning) system is done by NEXT BASKET specialists for a smoother and faster connection.
Then, several features will be available to support your online business.
Account creation and activation
After a request to NEXT BASKET to synchronize your online store and the ERP system, our specialists will conduct a training, after which you will receive your unique username and password to access the platform at any time.
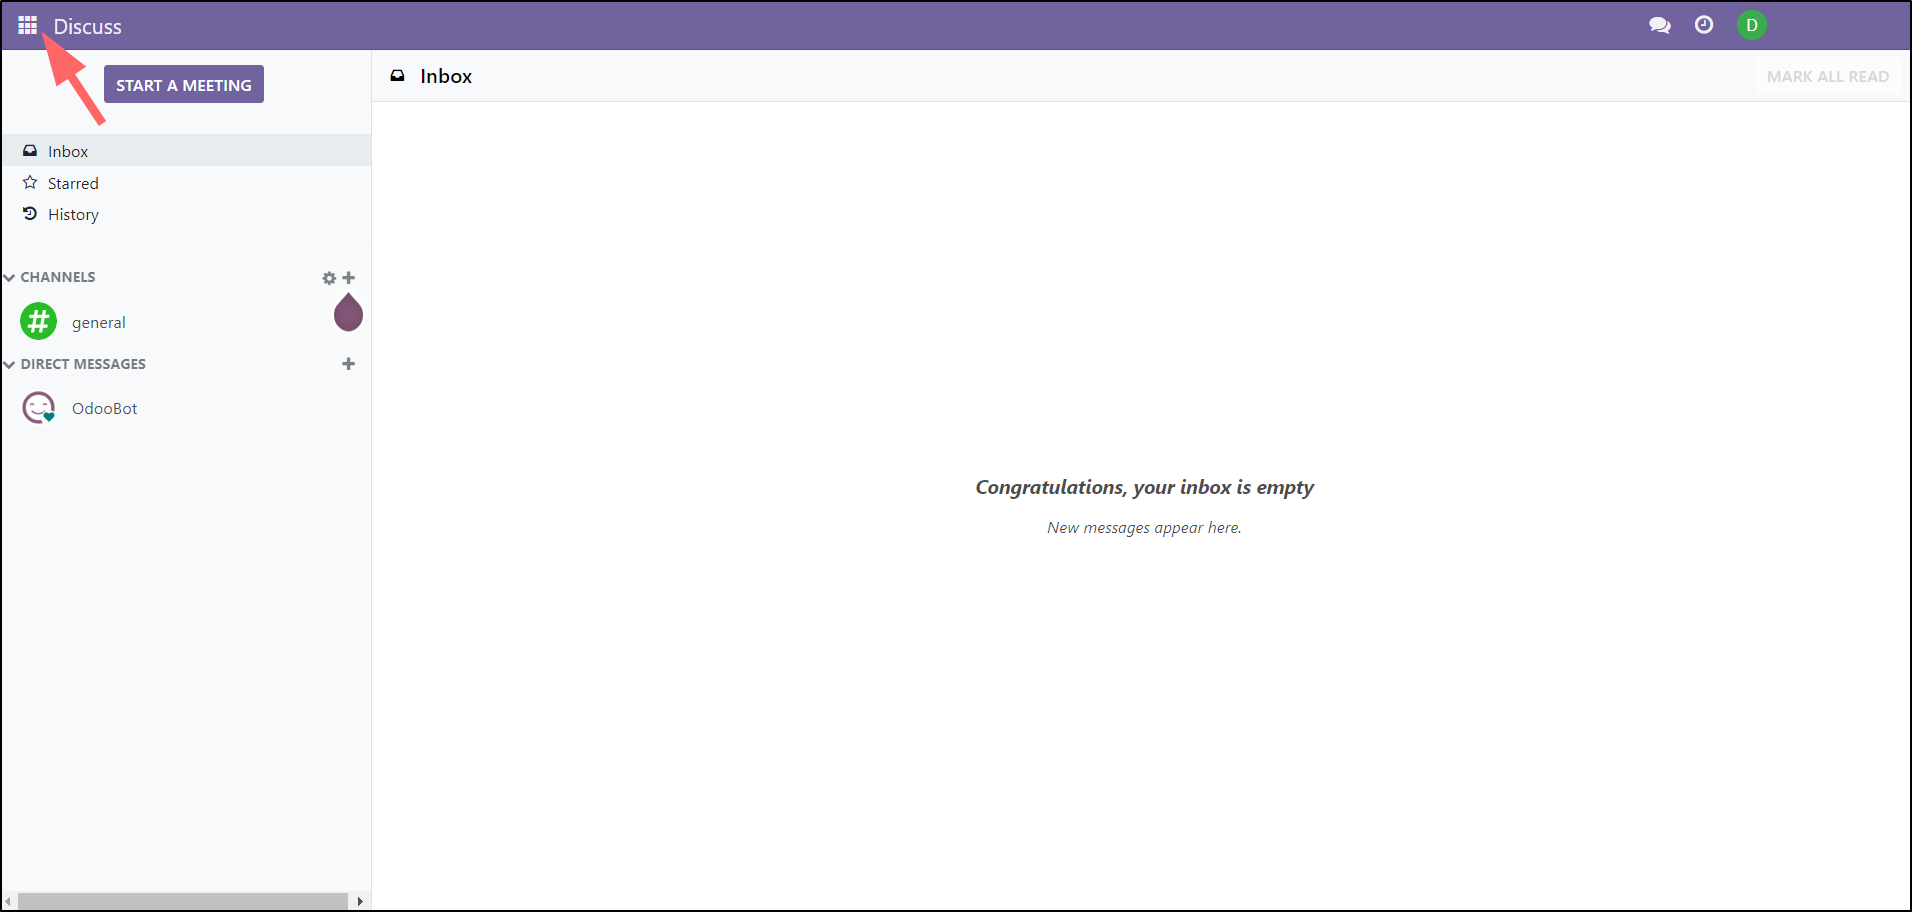
Home Page navigation
When you initially log into the system, you will be directed to the Home/Discuss page.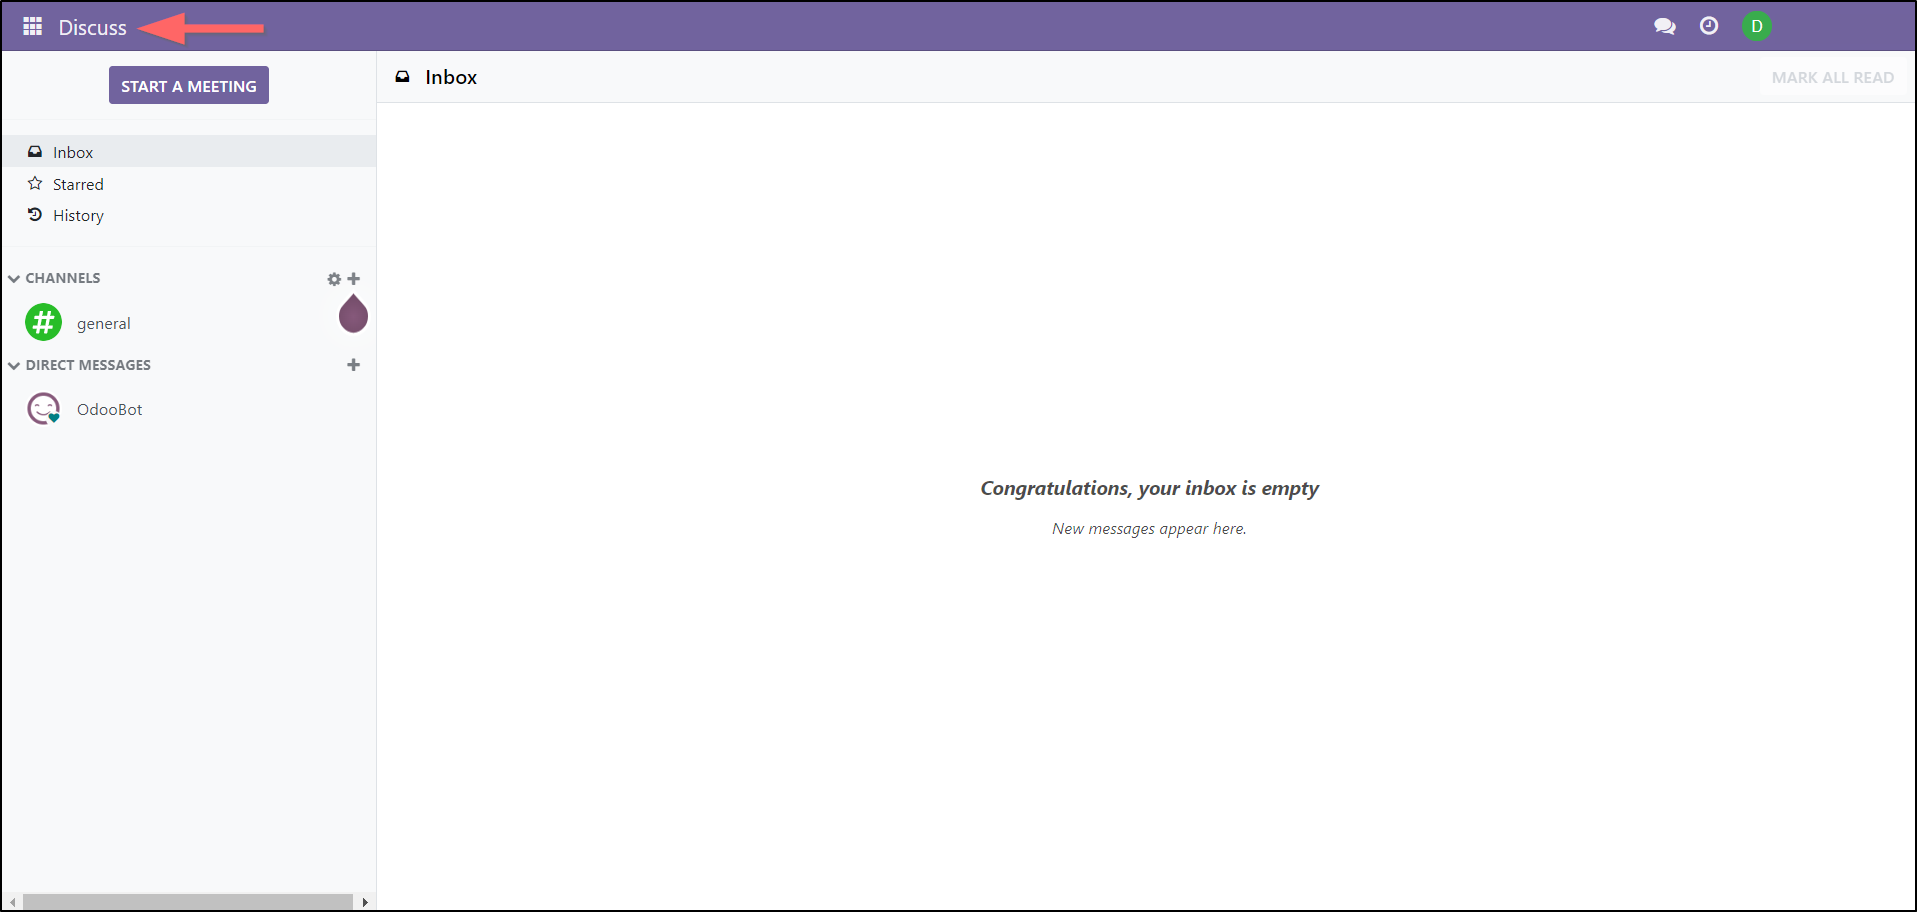
Here you have access to a number of product and process management options related to your online store; system communication; dashboards; order information, inventory; various settings, and more.
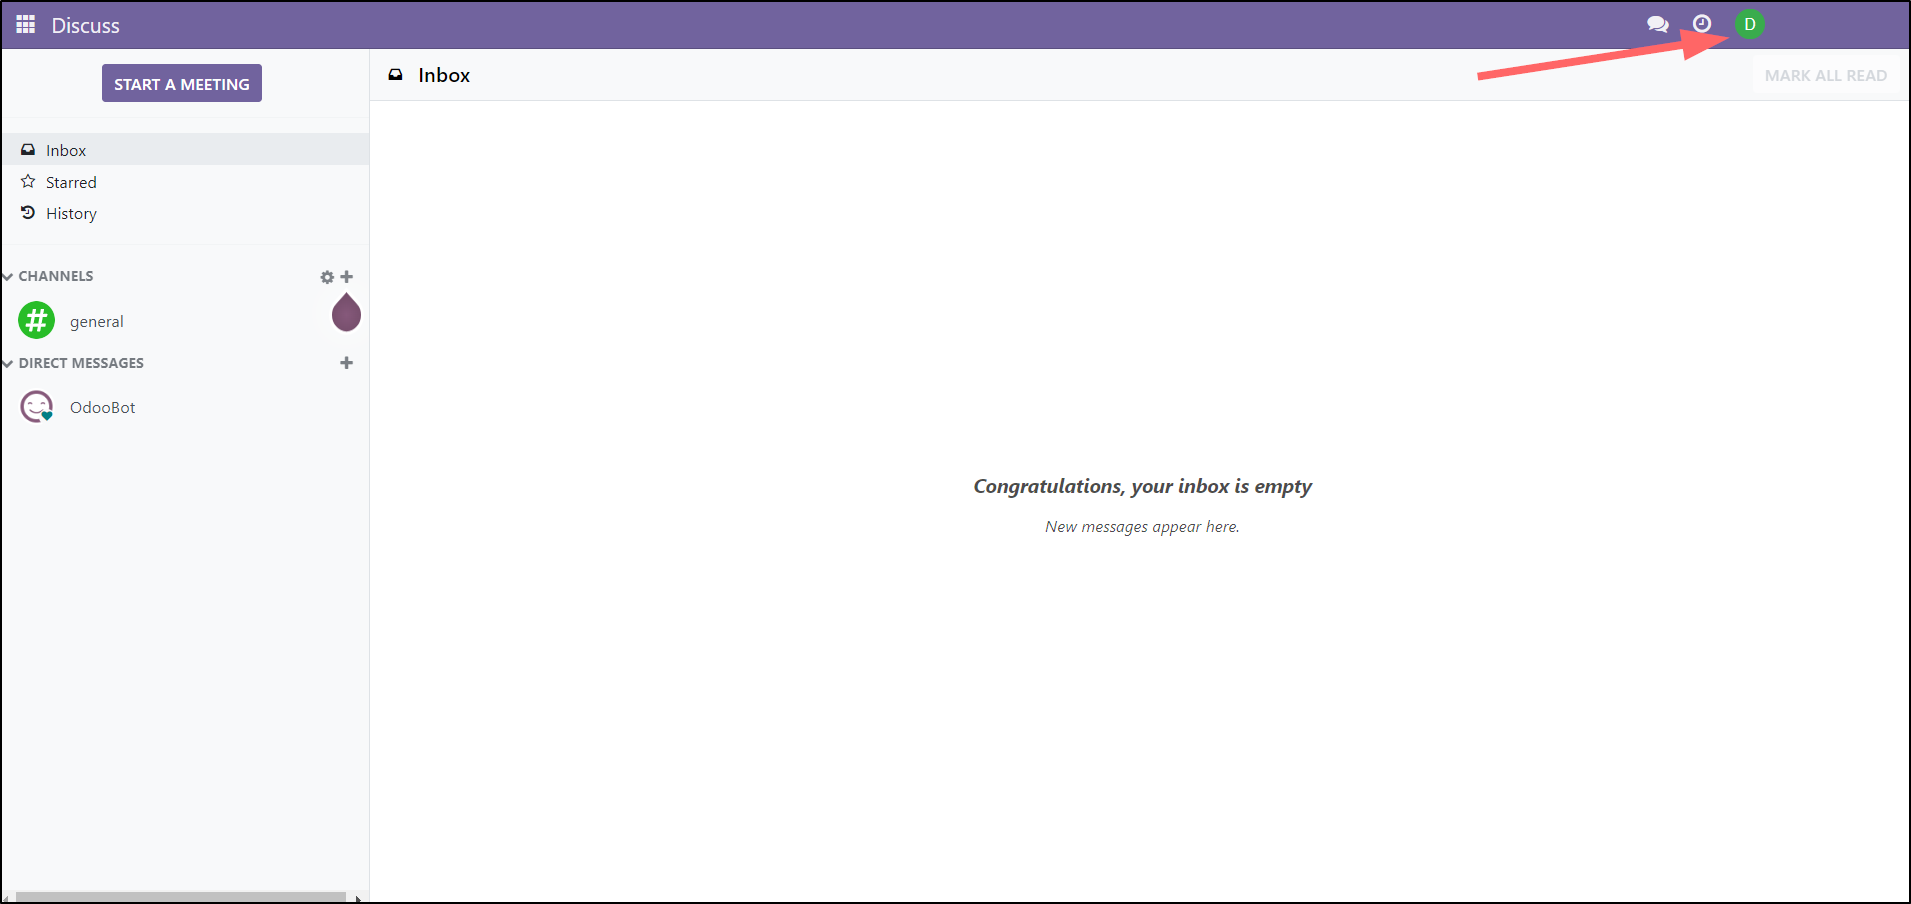
Personalize your view
For better results and user experience, you can customize your ERP system view.
For this purpose:
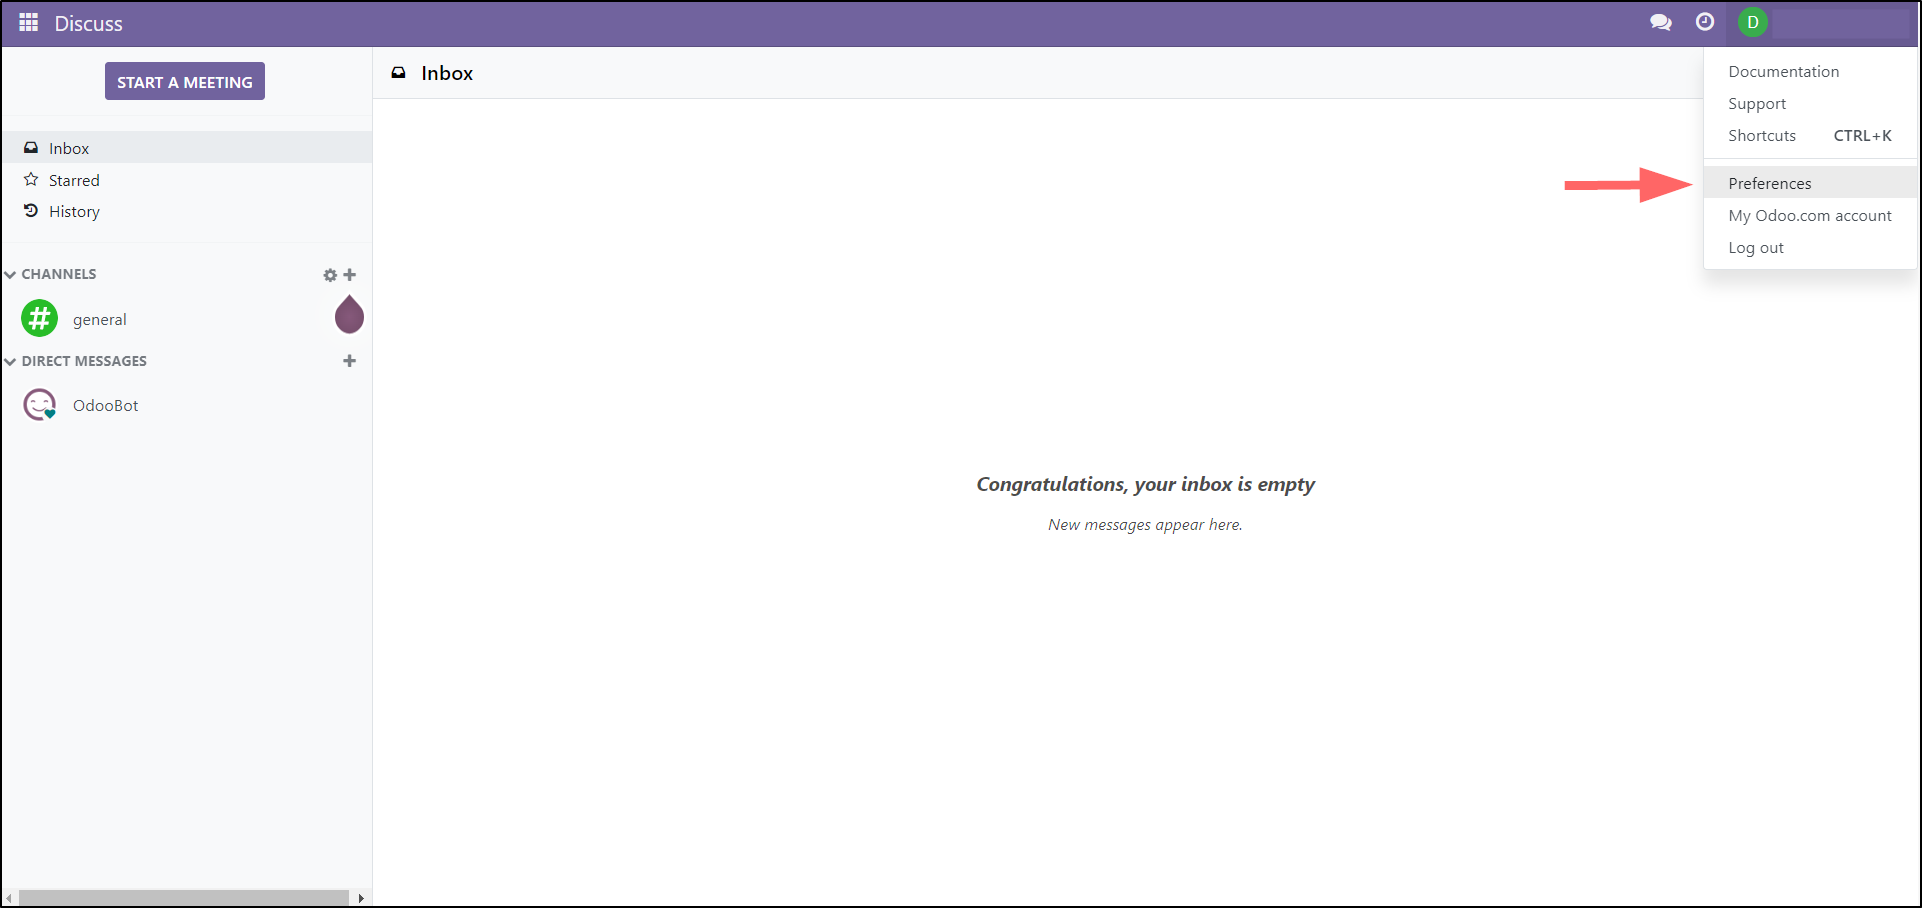
- Go to your Profile (top right corner of the platform).

- From the drop-down menu, select Preferences.

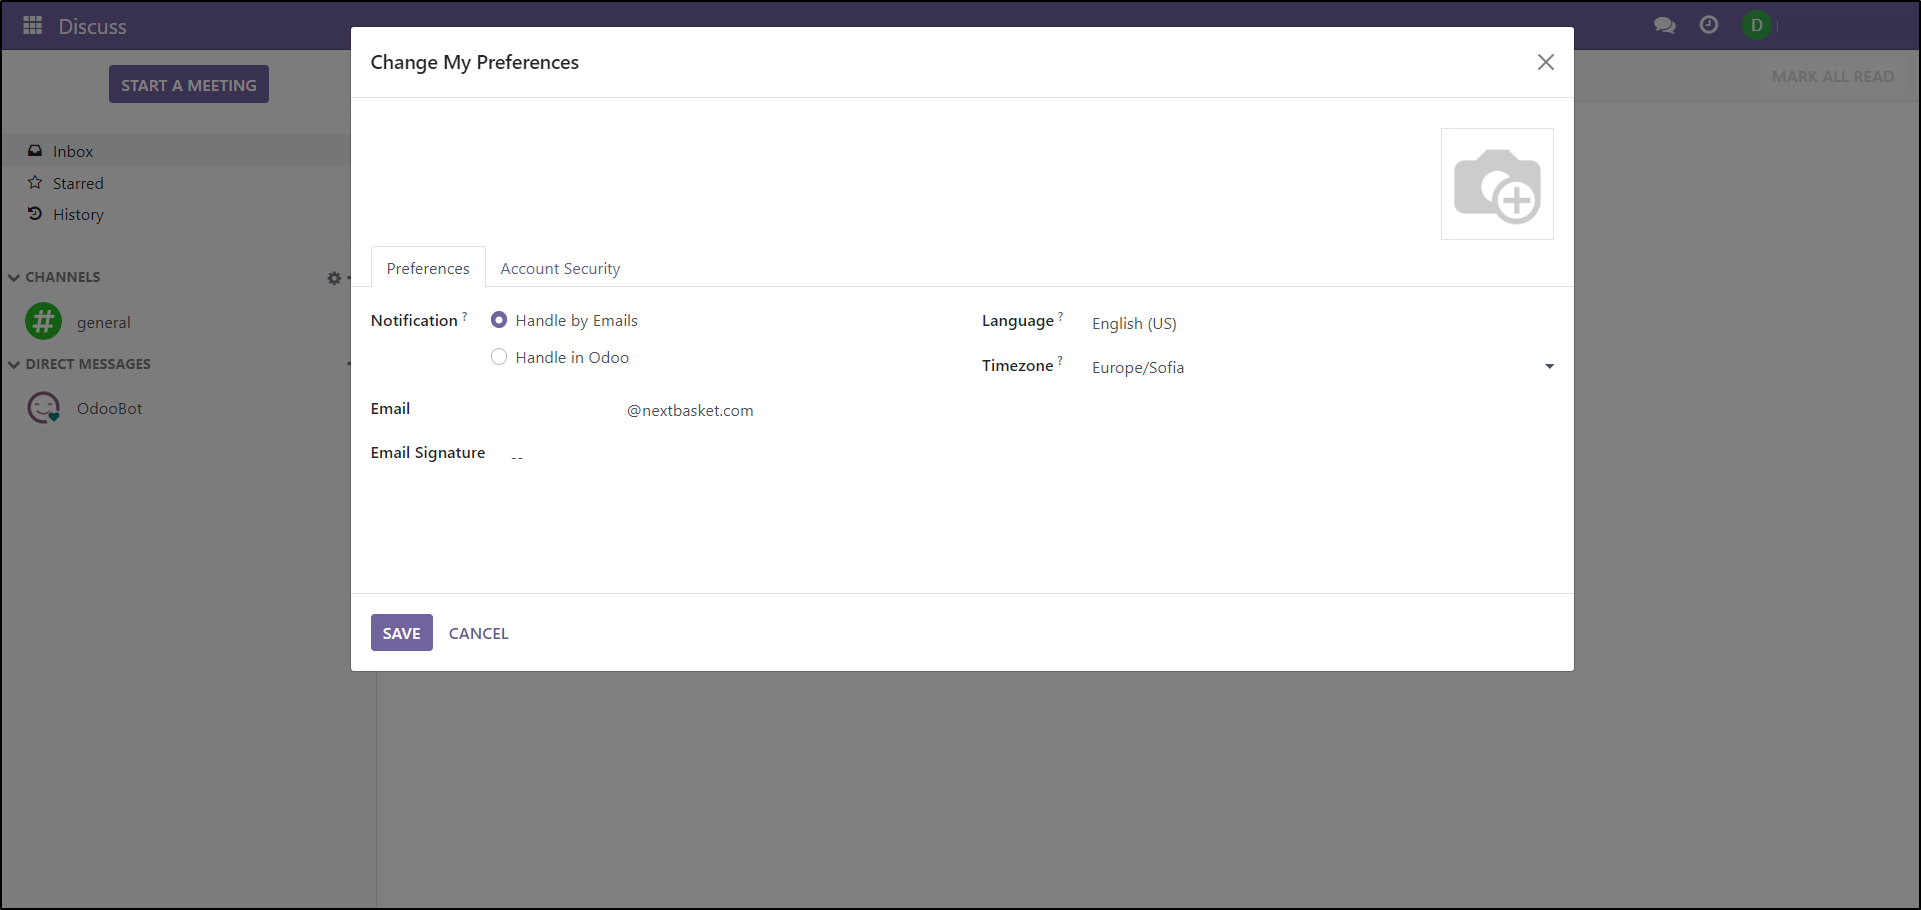
- In the newly opened window, you can adjust several settings, including:
- How to handle notifications - in Odoo or by Email;
- Your personal email used for the ERP system;
- Email signature;
- Platform language;
- Timezone;
- Profile picture.


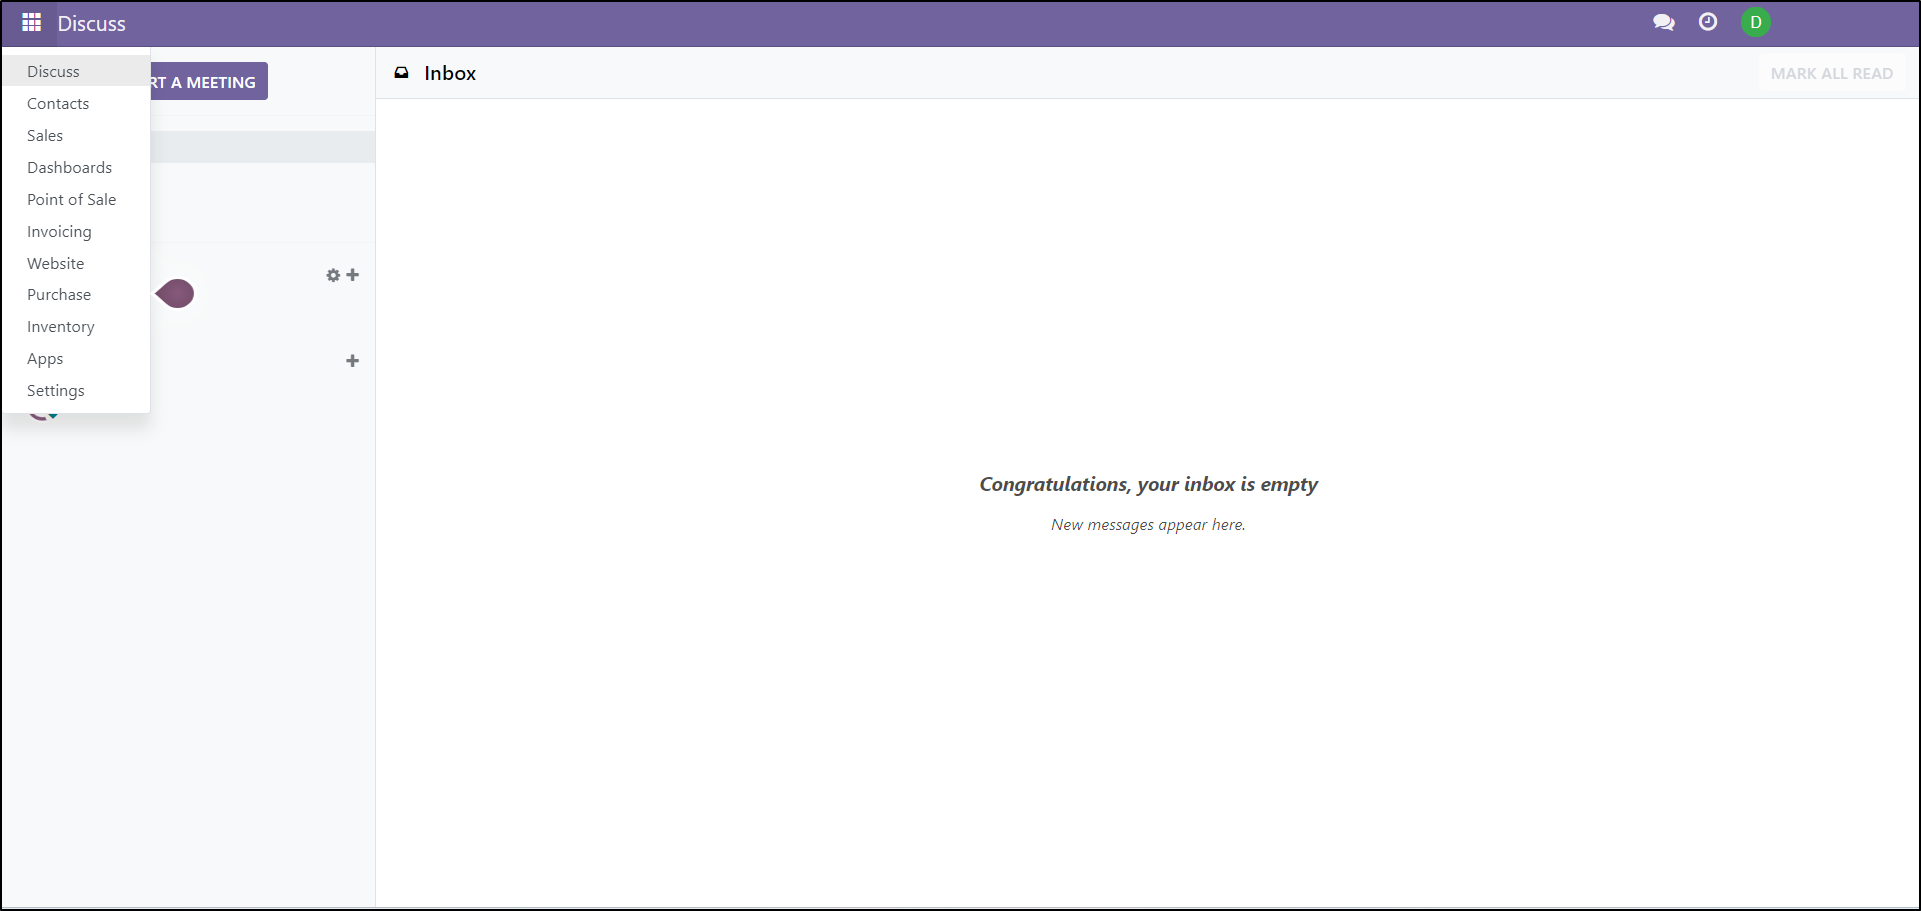
Access different functionalities in the ERP system
The ERP system offers a convenient way to access every important business and online store management-oriented function.
- Go to the main menu (top left corner of the screen).

- Browse the items in the drop-down menu and select the desired directory.
- Contacts – information and contacts of individuals and businesses using the platform;
- Sales – quick chronological access to current sales through your platform;
- Dashboards – detailed overview and sales and business process statistics;
- Point of Sale – control unit for POS terminal
- Invoicing – accounting process information related to sales, purchases, and various types of reports;
- Purchase;
- Inventory - overview and management of inventory.

Product overview/inventory
After obtaining personal login credentials in your ERP system and successful synchronization, all products from the admin panel of your online store will be visible and manageable through the ERP as well.
View available products
To view available inventory/products and their details,
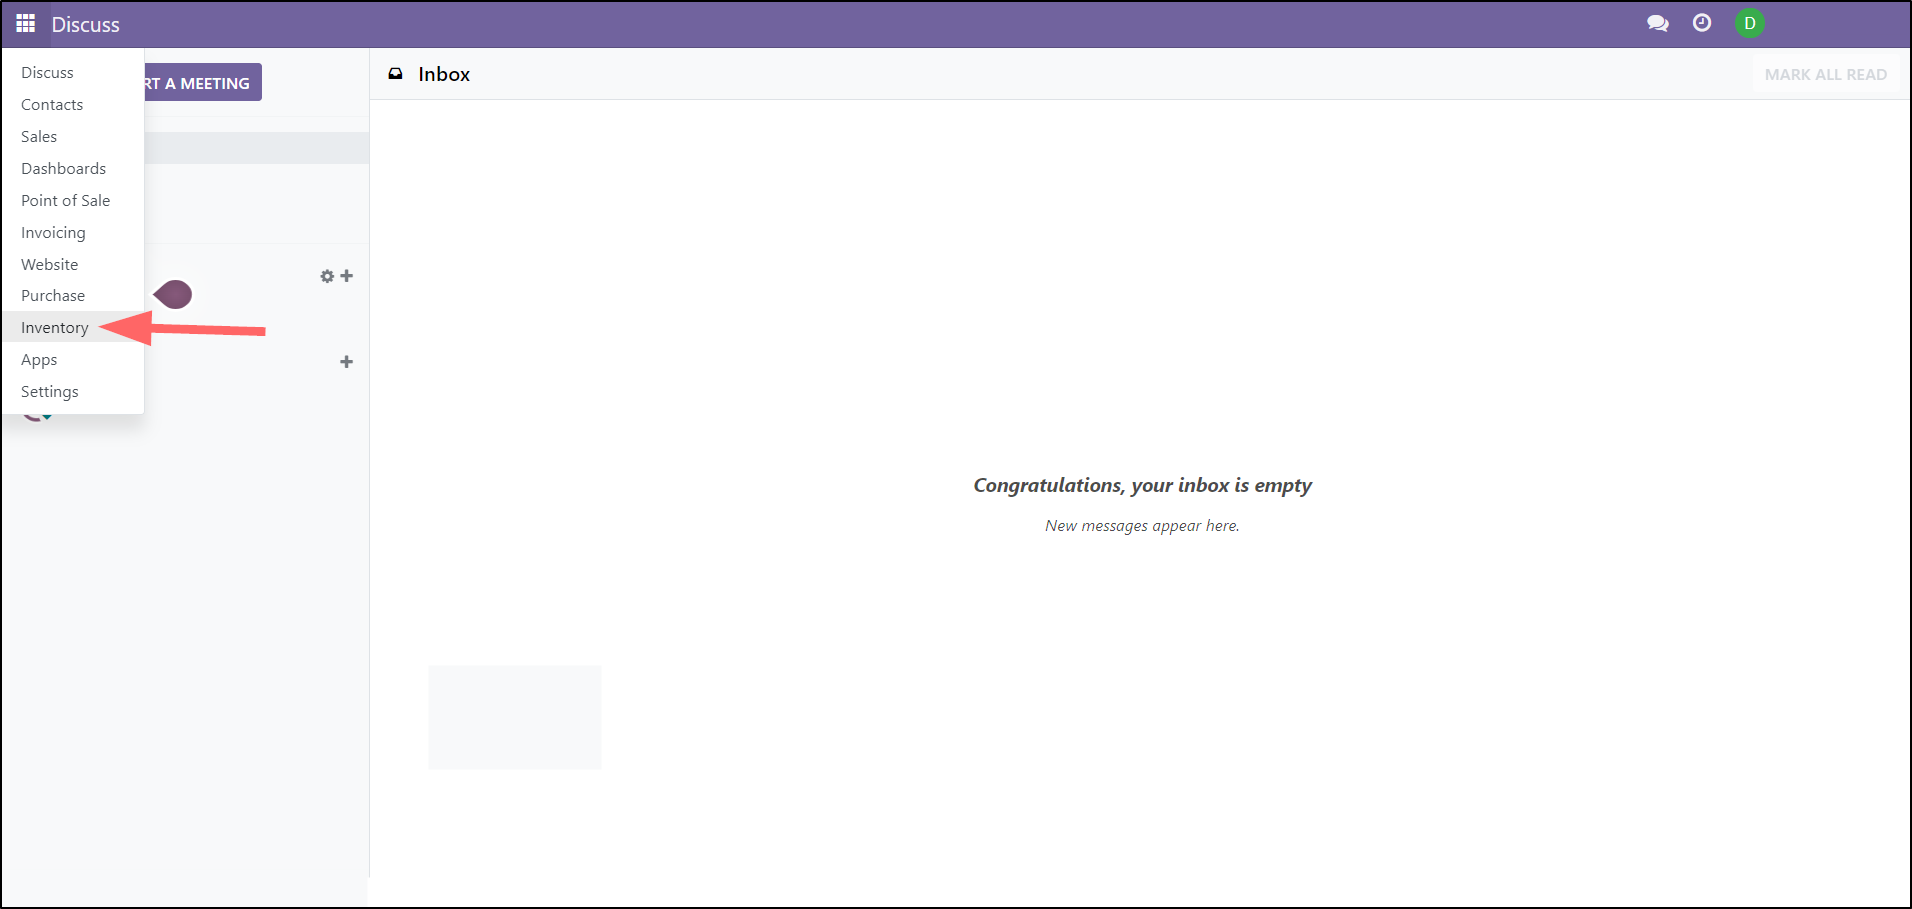
- Go to the main menu.
- Select Inventory from the drop-down menu.

- Hit Products.

- You can adjust the product list display by hitting the corresponding button on the right side of the screen. The display options are List type and Kanban (by product card).

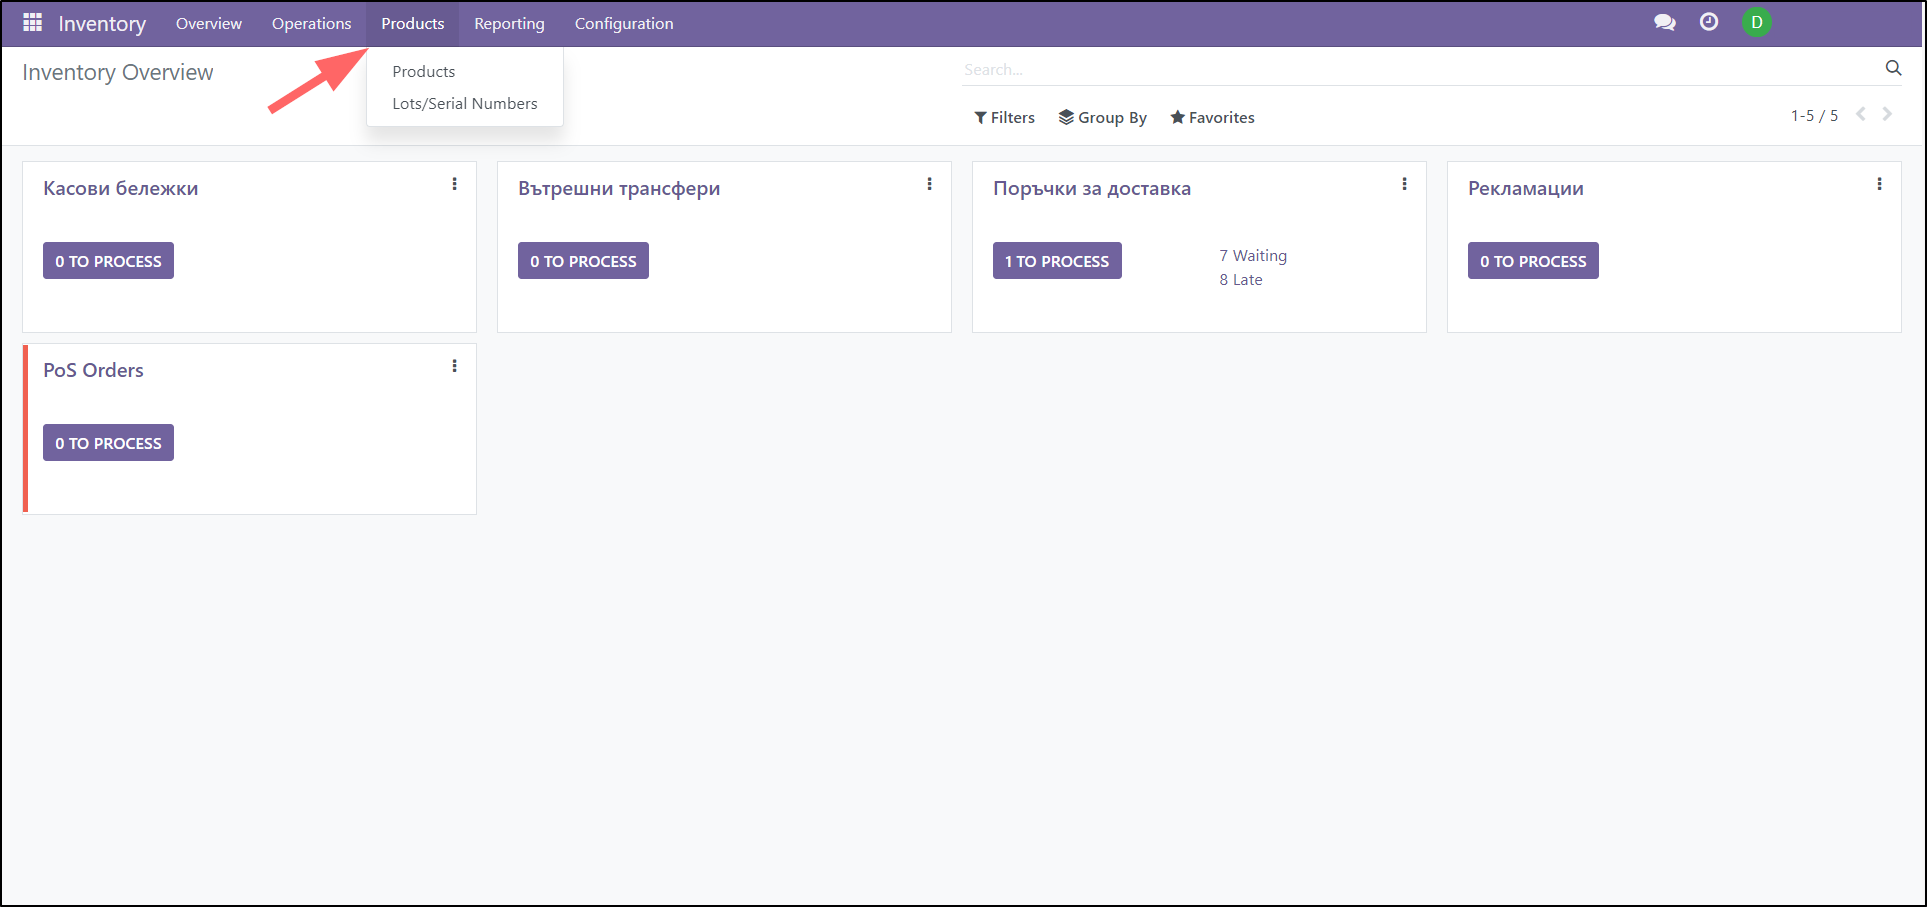
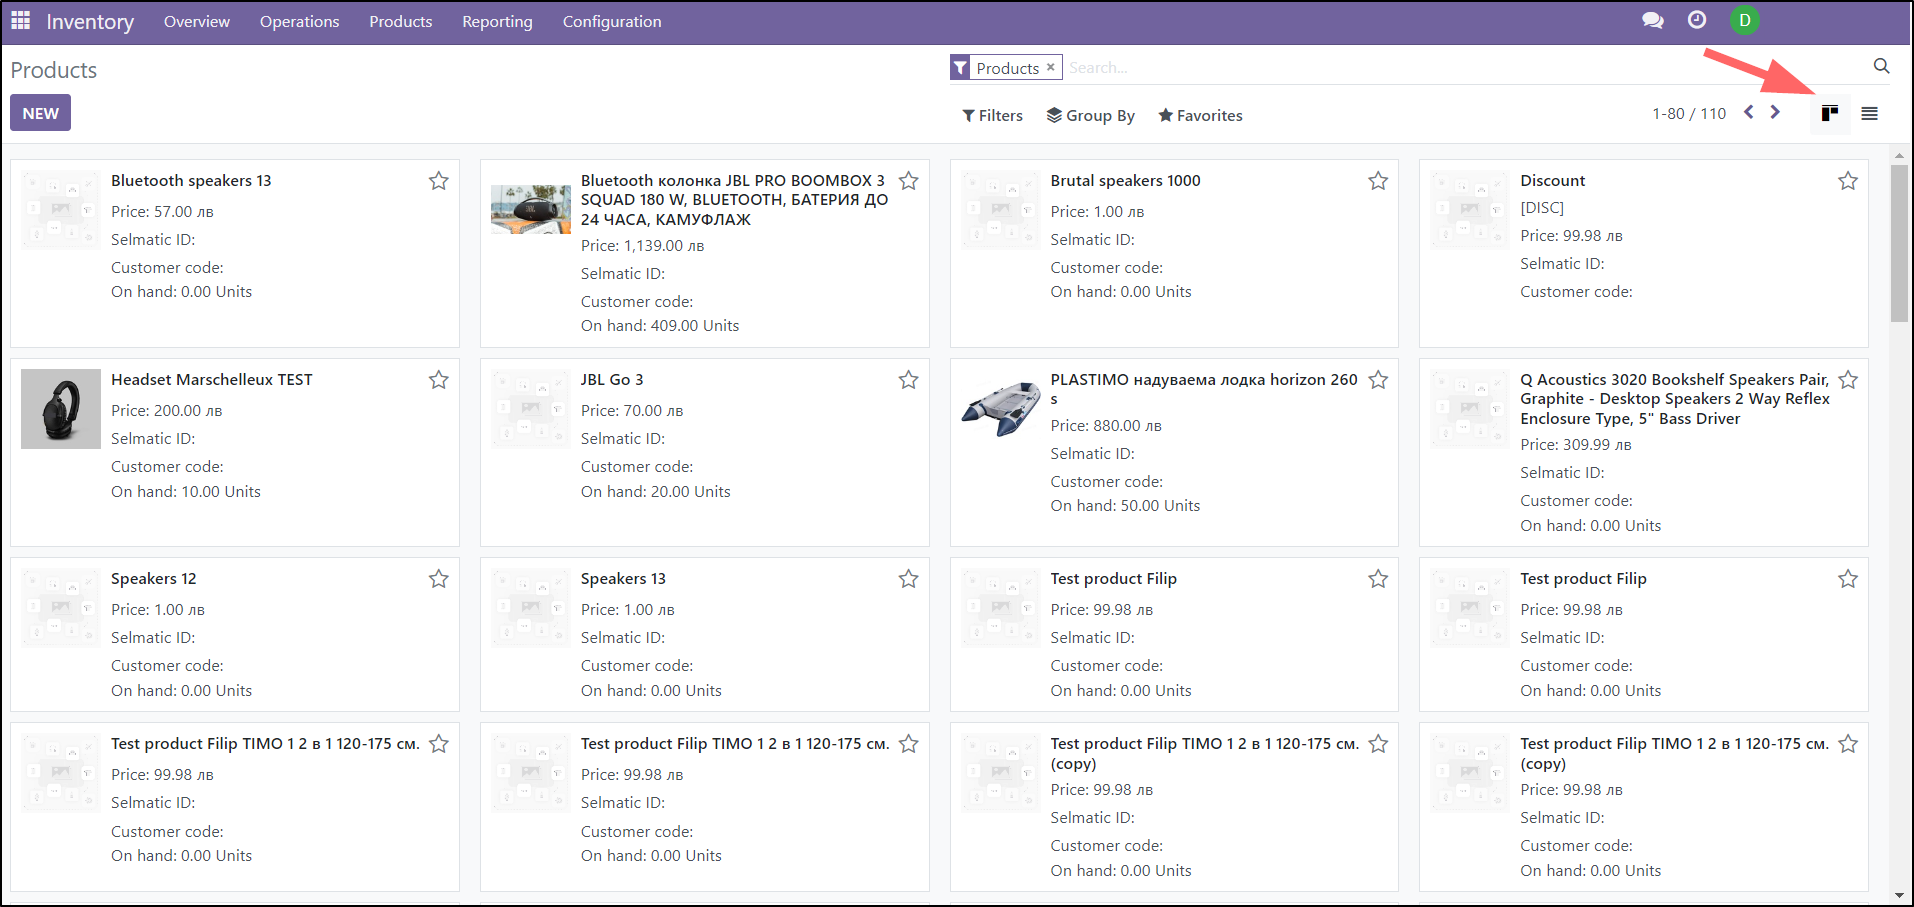
In the products section you can view the products sorted via several different options:
- Filters – overview of specific products within selected filter
- Group by – grouping of products within specific groups
- Favorites

