Creating products
To create a product, go to Catalog > Products and click on Create Product.
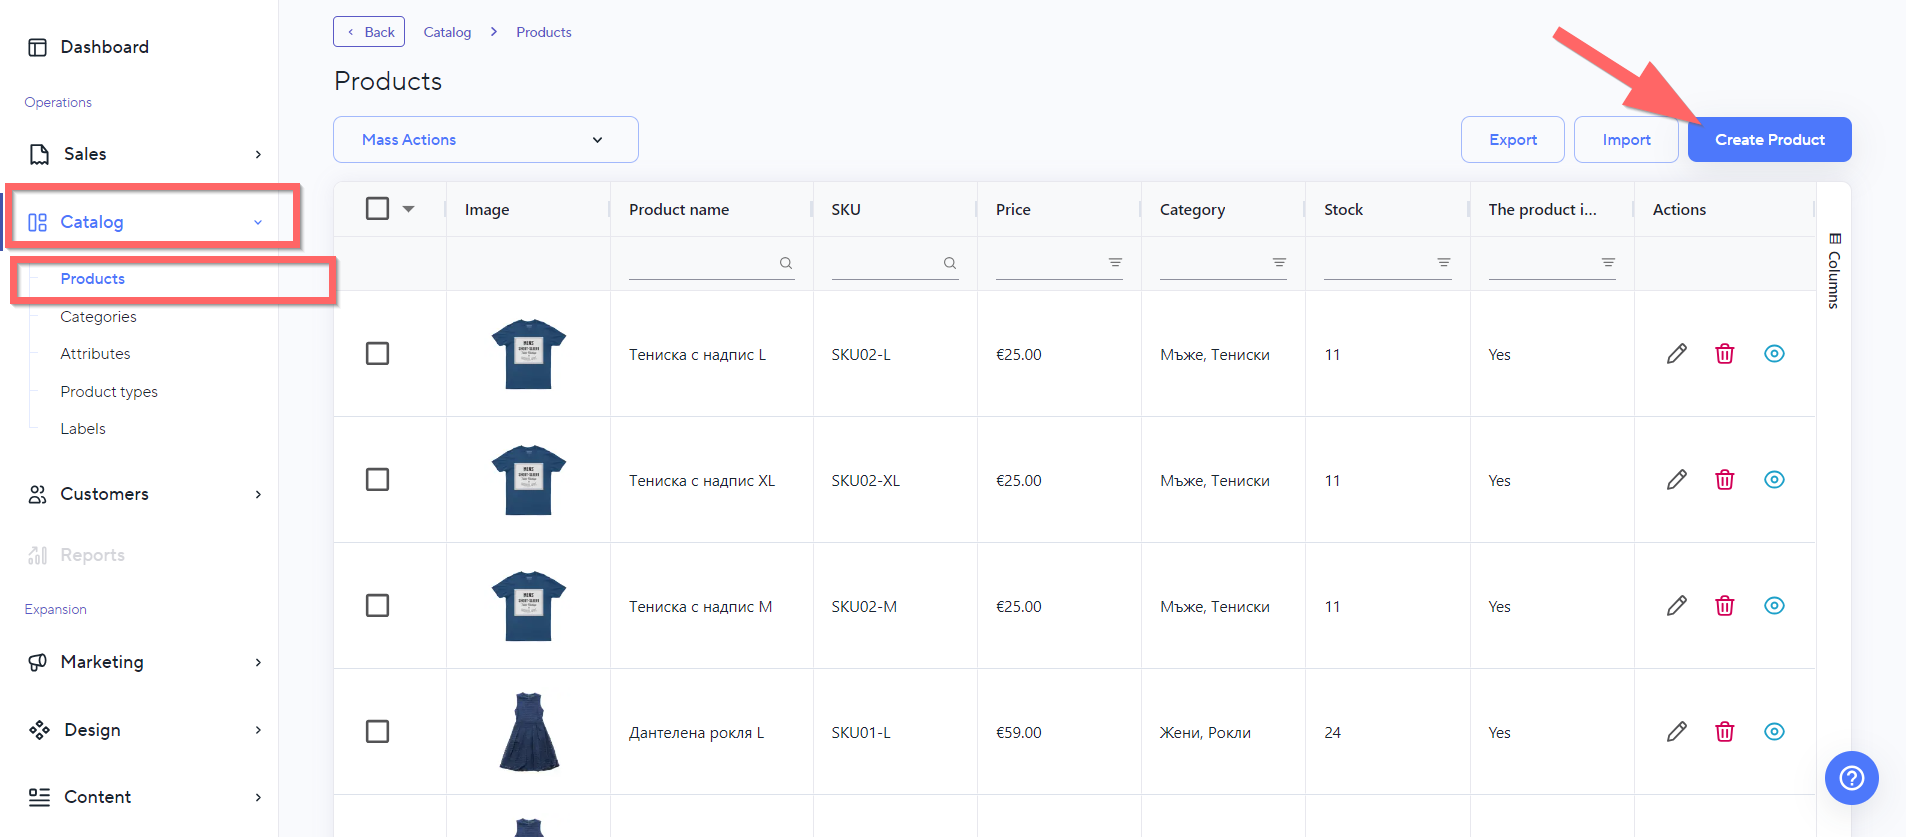
You've got a number of settings you can adjust, but the most important ones are in the General section.

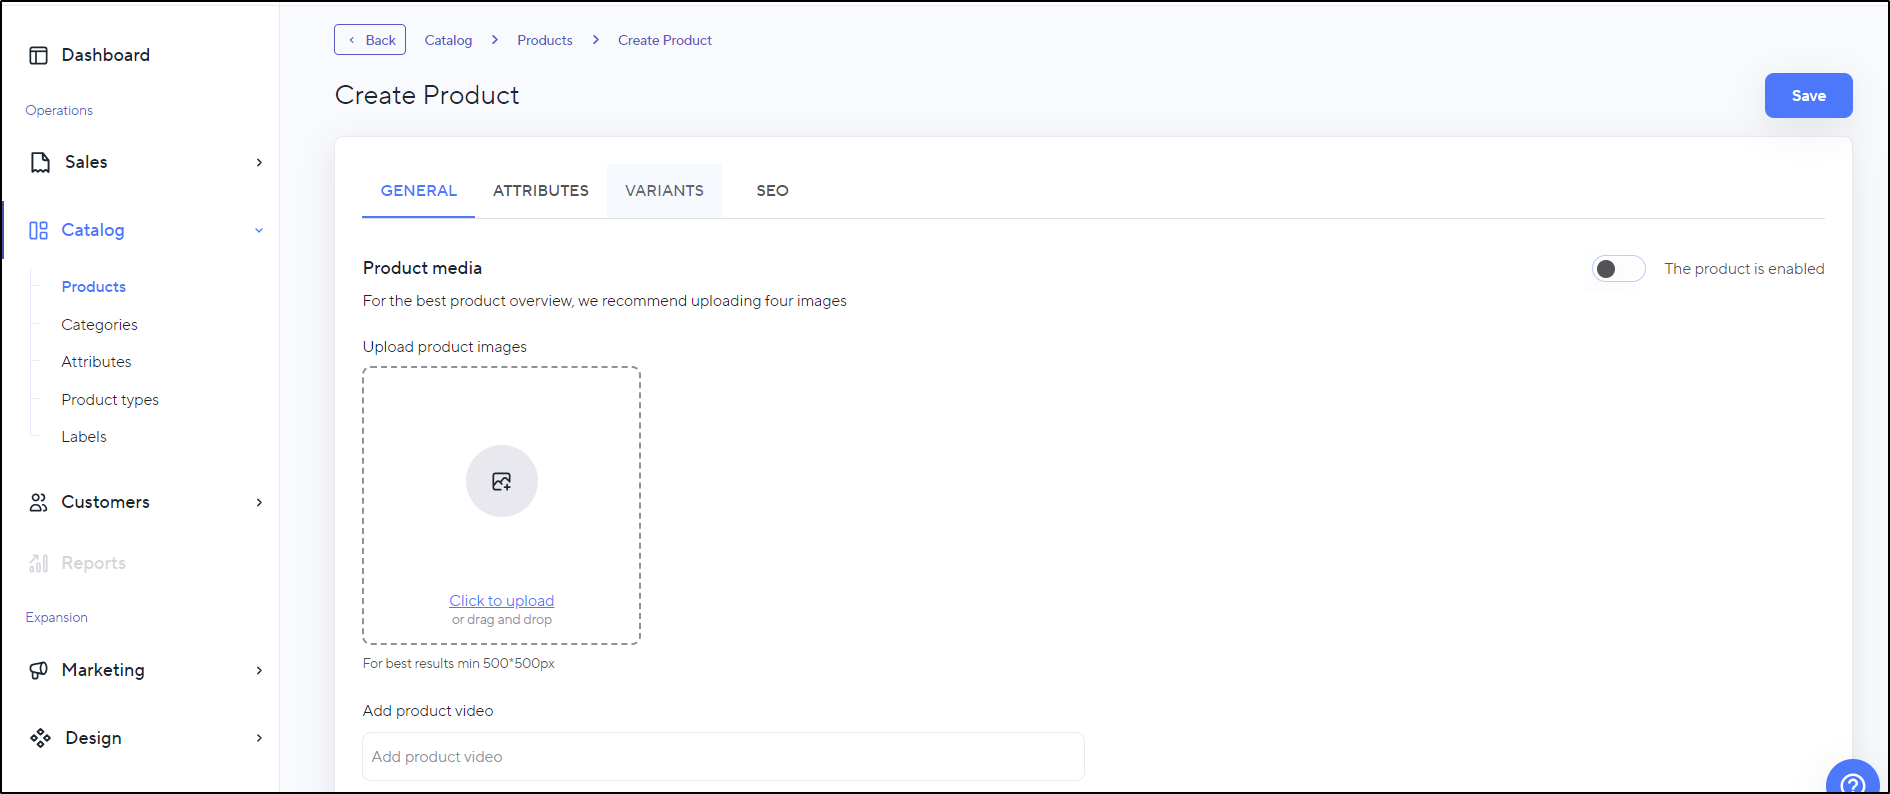
Step 1: General Product Settings
Adding images to a product
-
You can upload more than one image. Simply click on the box and add the product images.

-
Adding videos to the product: Note that the NEXT BASKET platform does not store your video. You can use a video from YouTube.
Under the respective video, click on the "Share" option and select "<Embed> (<Copy Embed Code>").

Paste the copied code into the "Add product video" field.
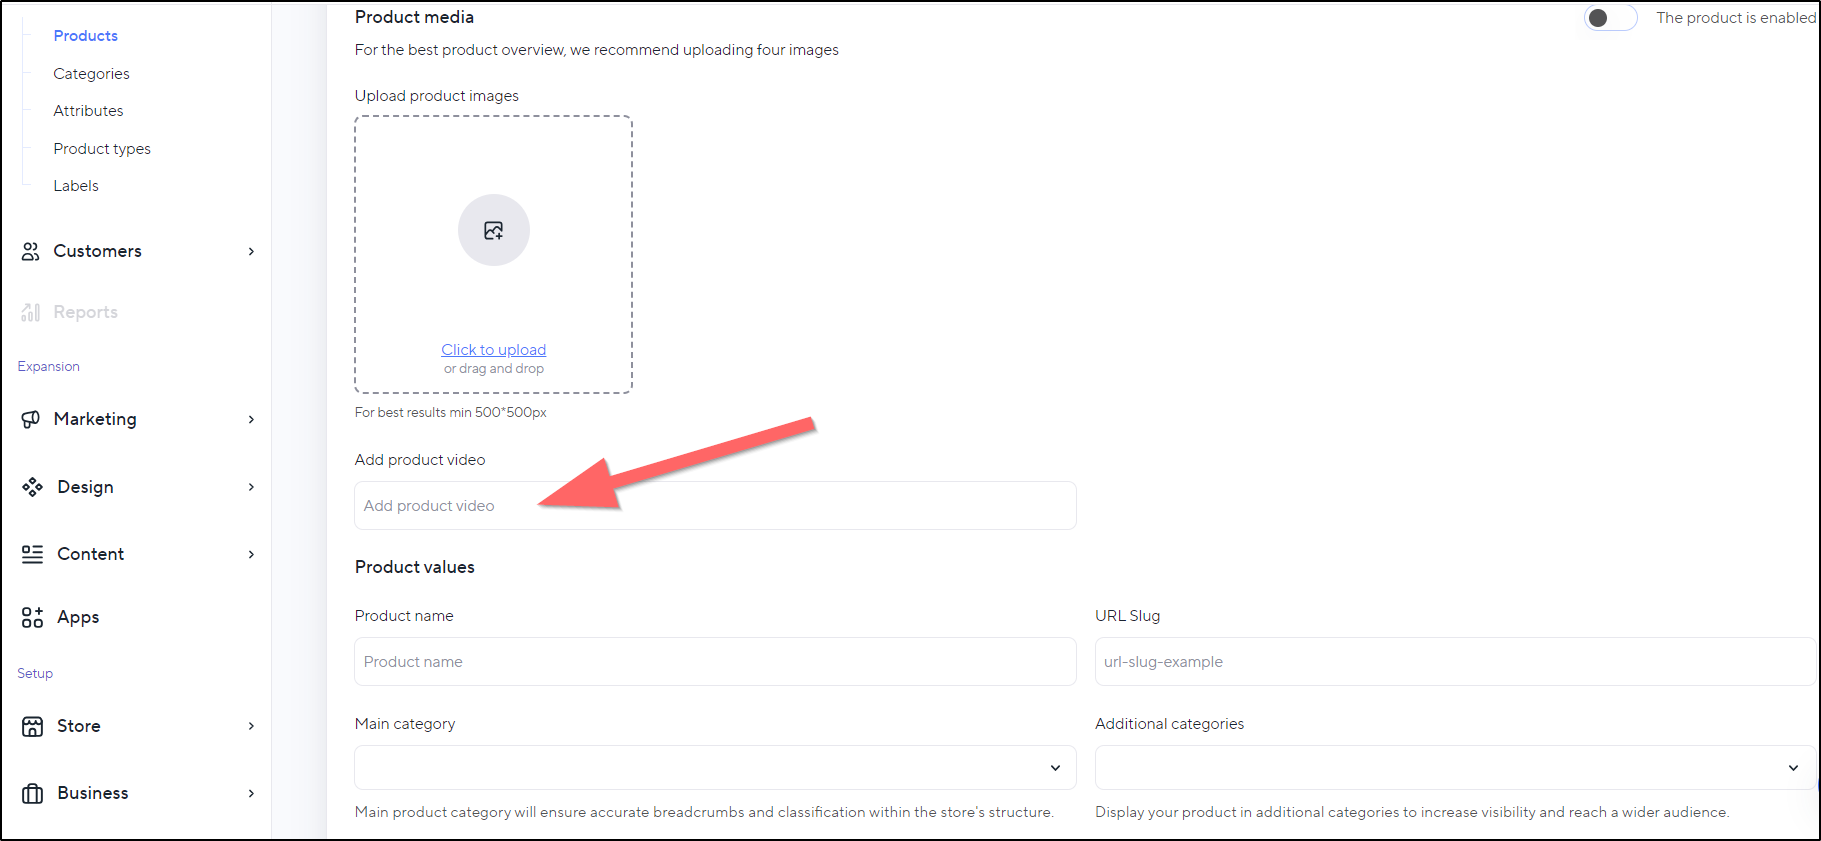
Adding Product Values
For each product, you need to provide the following data:

-
Product name - enter a descriptive name.
-
URL Slug - will be automatically filled in after entering the product name.
-
Main category - select a category from those you have created.
-
Additional categories - an optional field.
-
Brand name- an optional field.
-
SKU (Stock Keeping Unit) value - usually a multi-digit number (optional).
-
Barcode number(optional).
-
Stock- enter the number of products. This field is inactive when the Unlimited stock toggle is activated.
-
Price per unit.
-
Special price - intended for discounts, this value replaces the Price value. You can automate your promotion by setting a Start Date and End date for the period during which the special price is valid.
-
Weight in kilograms.
Below the described fields, you have a few additional settings:
- Fragile - activate this toggle button to mark your product as fragile.
- Eligible for open and check - activate this toggle button to indicate that the recipient of the product can open the packaging upon delivery.
- Show size chart - activate this toggle button to apply already created tables using the Size Chart application (in the Applications section).
Adding a Product Description
Enter a Short description and a Full description. These are useful for SEO optimization of your products and for a better user experience.
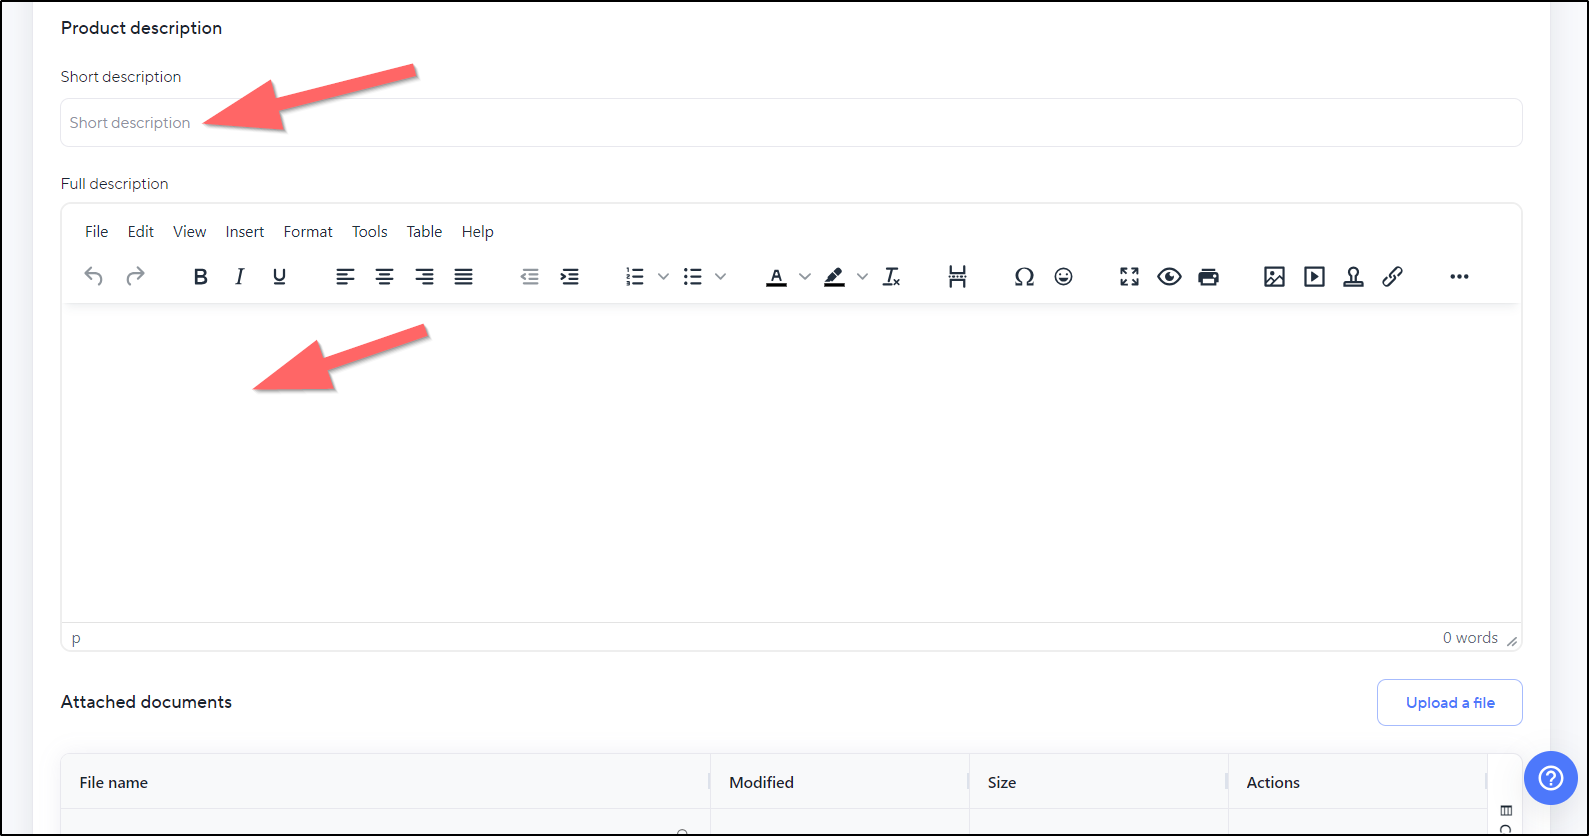
Attaching Documents
In the Attached documents table, you can add product documentation, including manuals, legal information, and more. Learn more about the process.
Step 2: Adding Attributes to the Product
The Attributes section allows you to add attributes to the product. If you haven't created attributes yet, you can do so without leaving the Create Product page.
More information about creating attributes.
Step 3: Creating Product Variants
Create Variants when you have multiple versions of the same product. You can add variants while creating your first product. After saving it, the product and its variants will appear as separate products in your online store.
The process of creating product variant.
Step 4: Providing SEO Settings
This section allows you to improve SEO for your product. These settings are not mandatory but are recommended to make your products more discoverable in online search engines.
To configure SEO for a new product, after entering General Information, go to the SEO section and click the Save button.

For each created product, the entered name, short description, and image (in the General section) will be automatically used for its SEO settings. You can edit the SEO information for a specific product at any time.